How to Use Spantop
A step-by-step guide to setting up Spantop and turning your tablet or Mac into a second display.
- 1
Welcome Screen
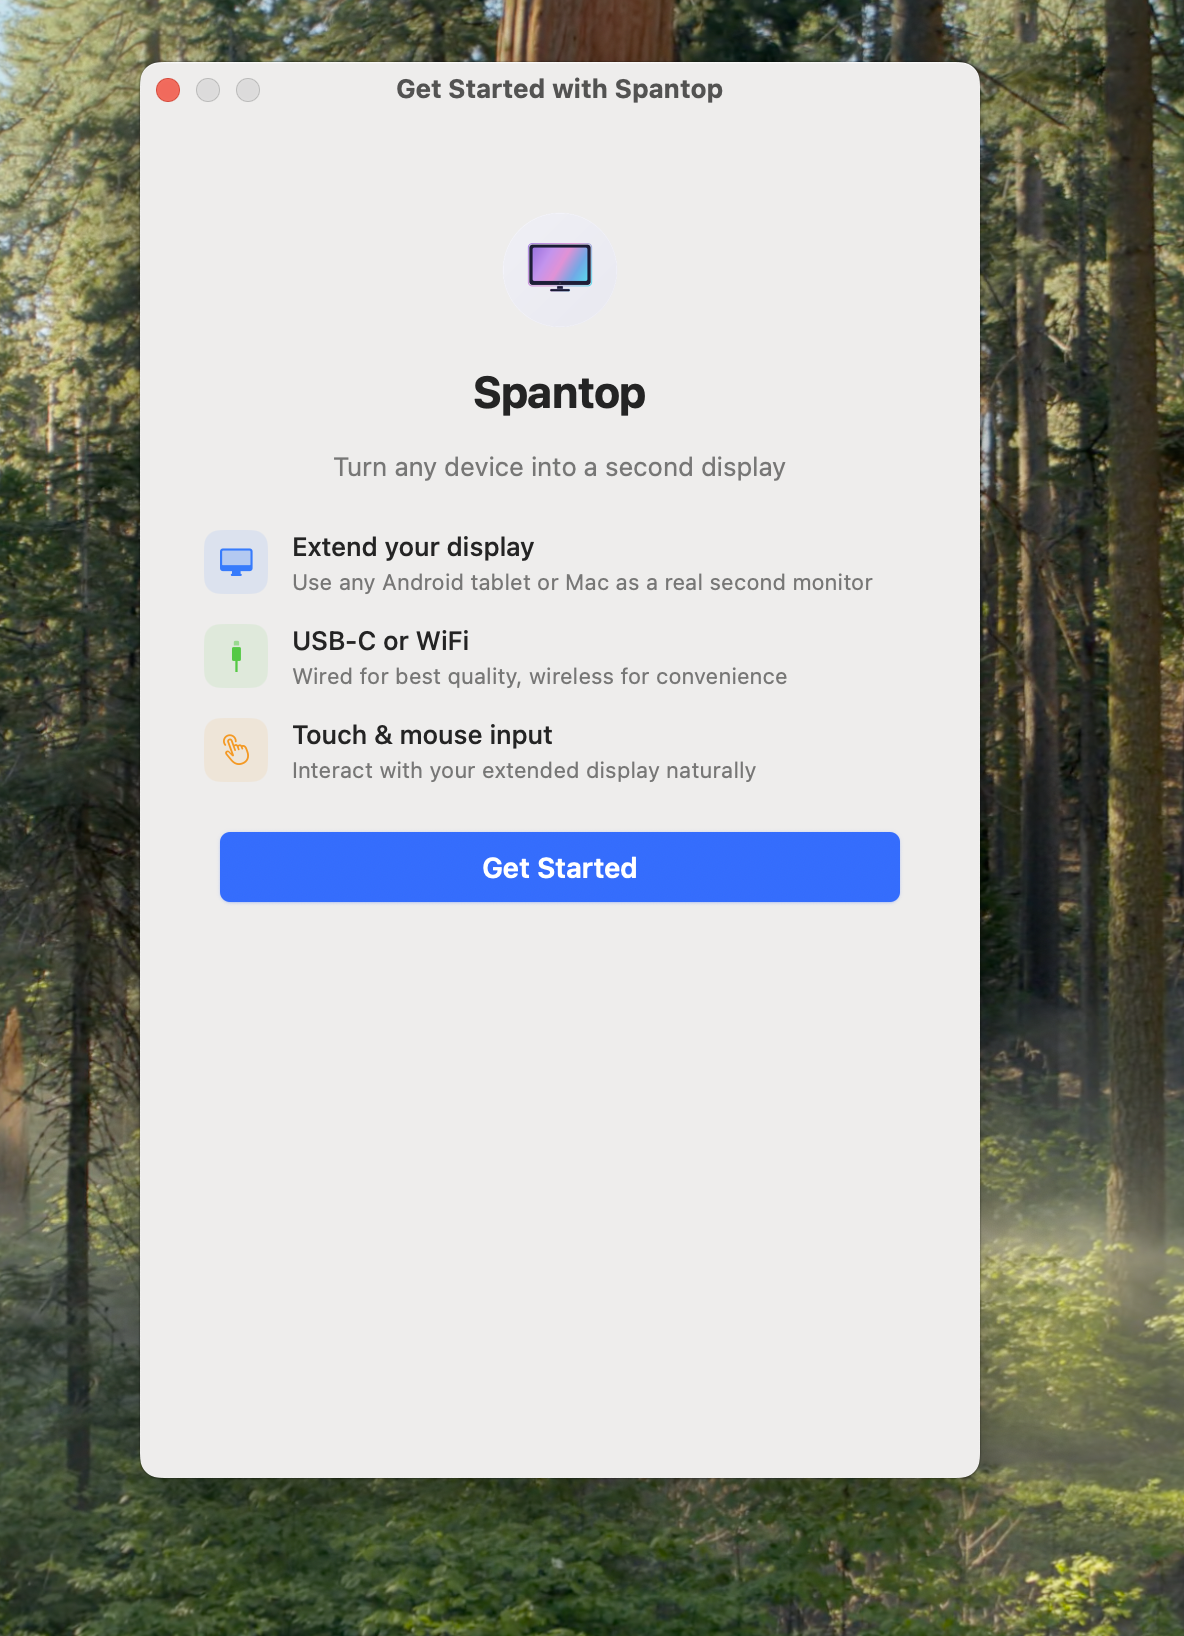
When you first launch Spantop, you'll see the welcome screen. It gives you a quick overview of what Spantop does — extend your display using any tablet or Mac, connect via USB-C or WiFi. Tap "Get Started" to begin the setup process.
- 2
Grant Screen Recording Permission
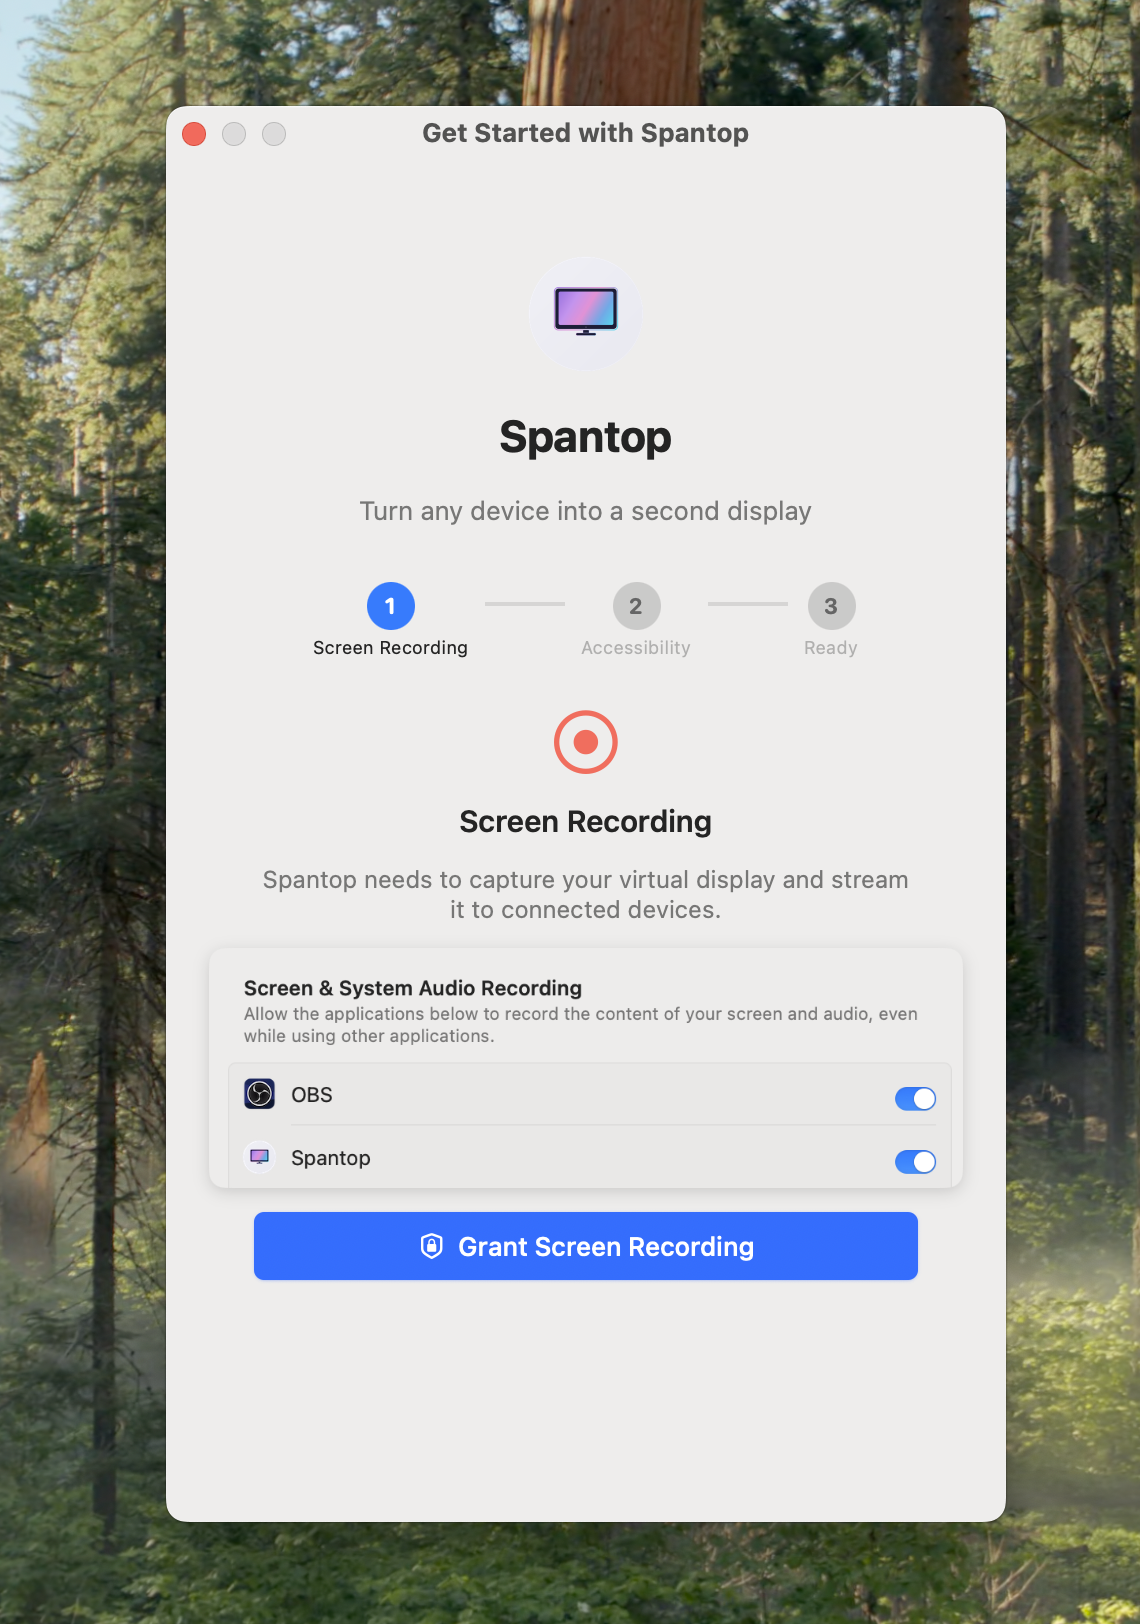
Spantop needs Screen Recording permission to capture your virtual display and stream it to your connected device. Click "Grant Screen Recording" — this will open the macOS System Settings to the Screen Recording section. Toggle the switch next to Spantop to enable it.
- 3
Enable Screen Recording in System Settings
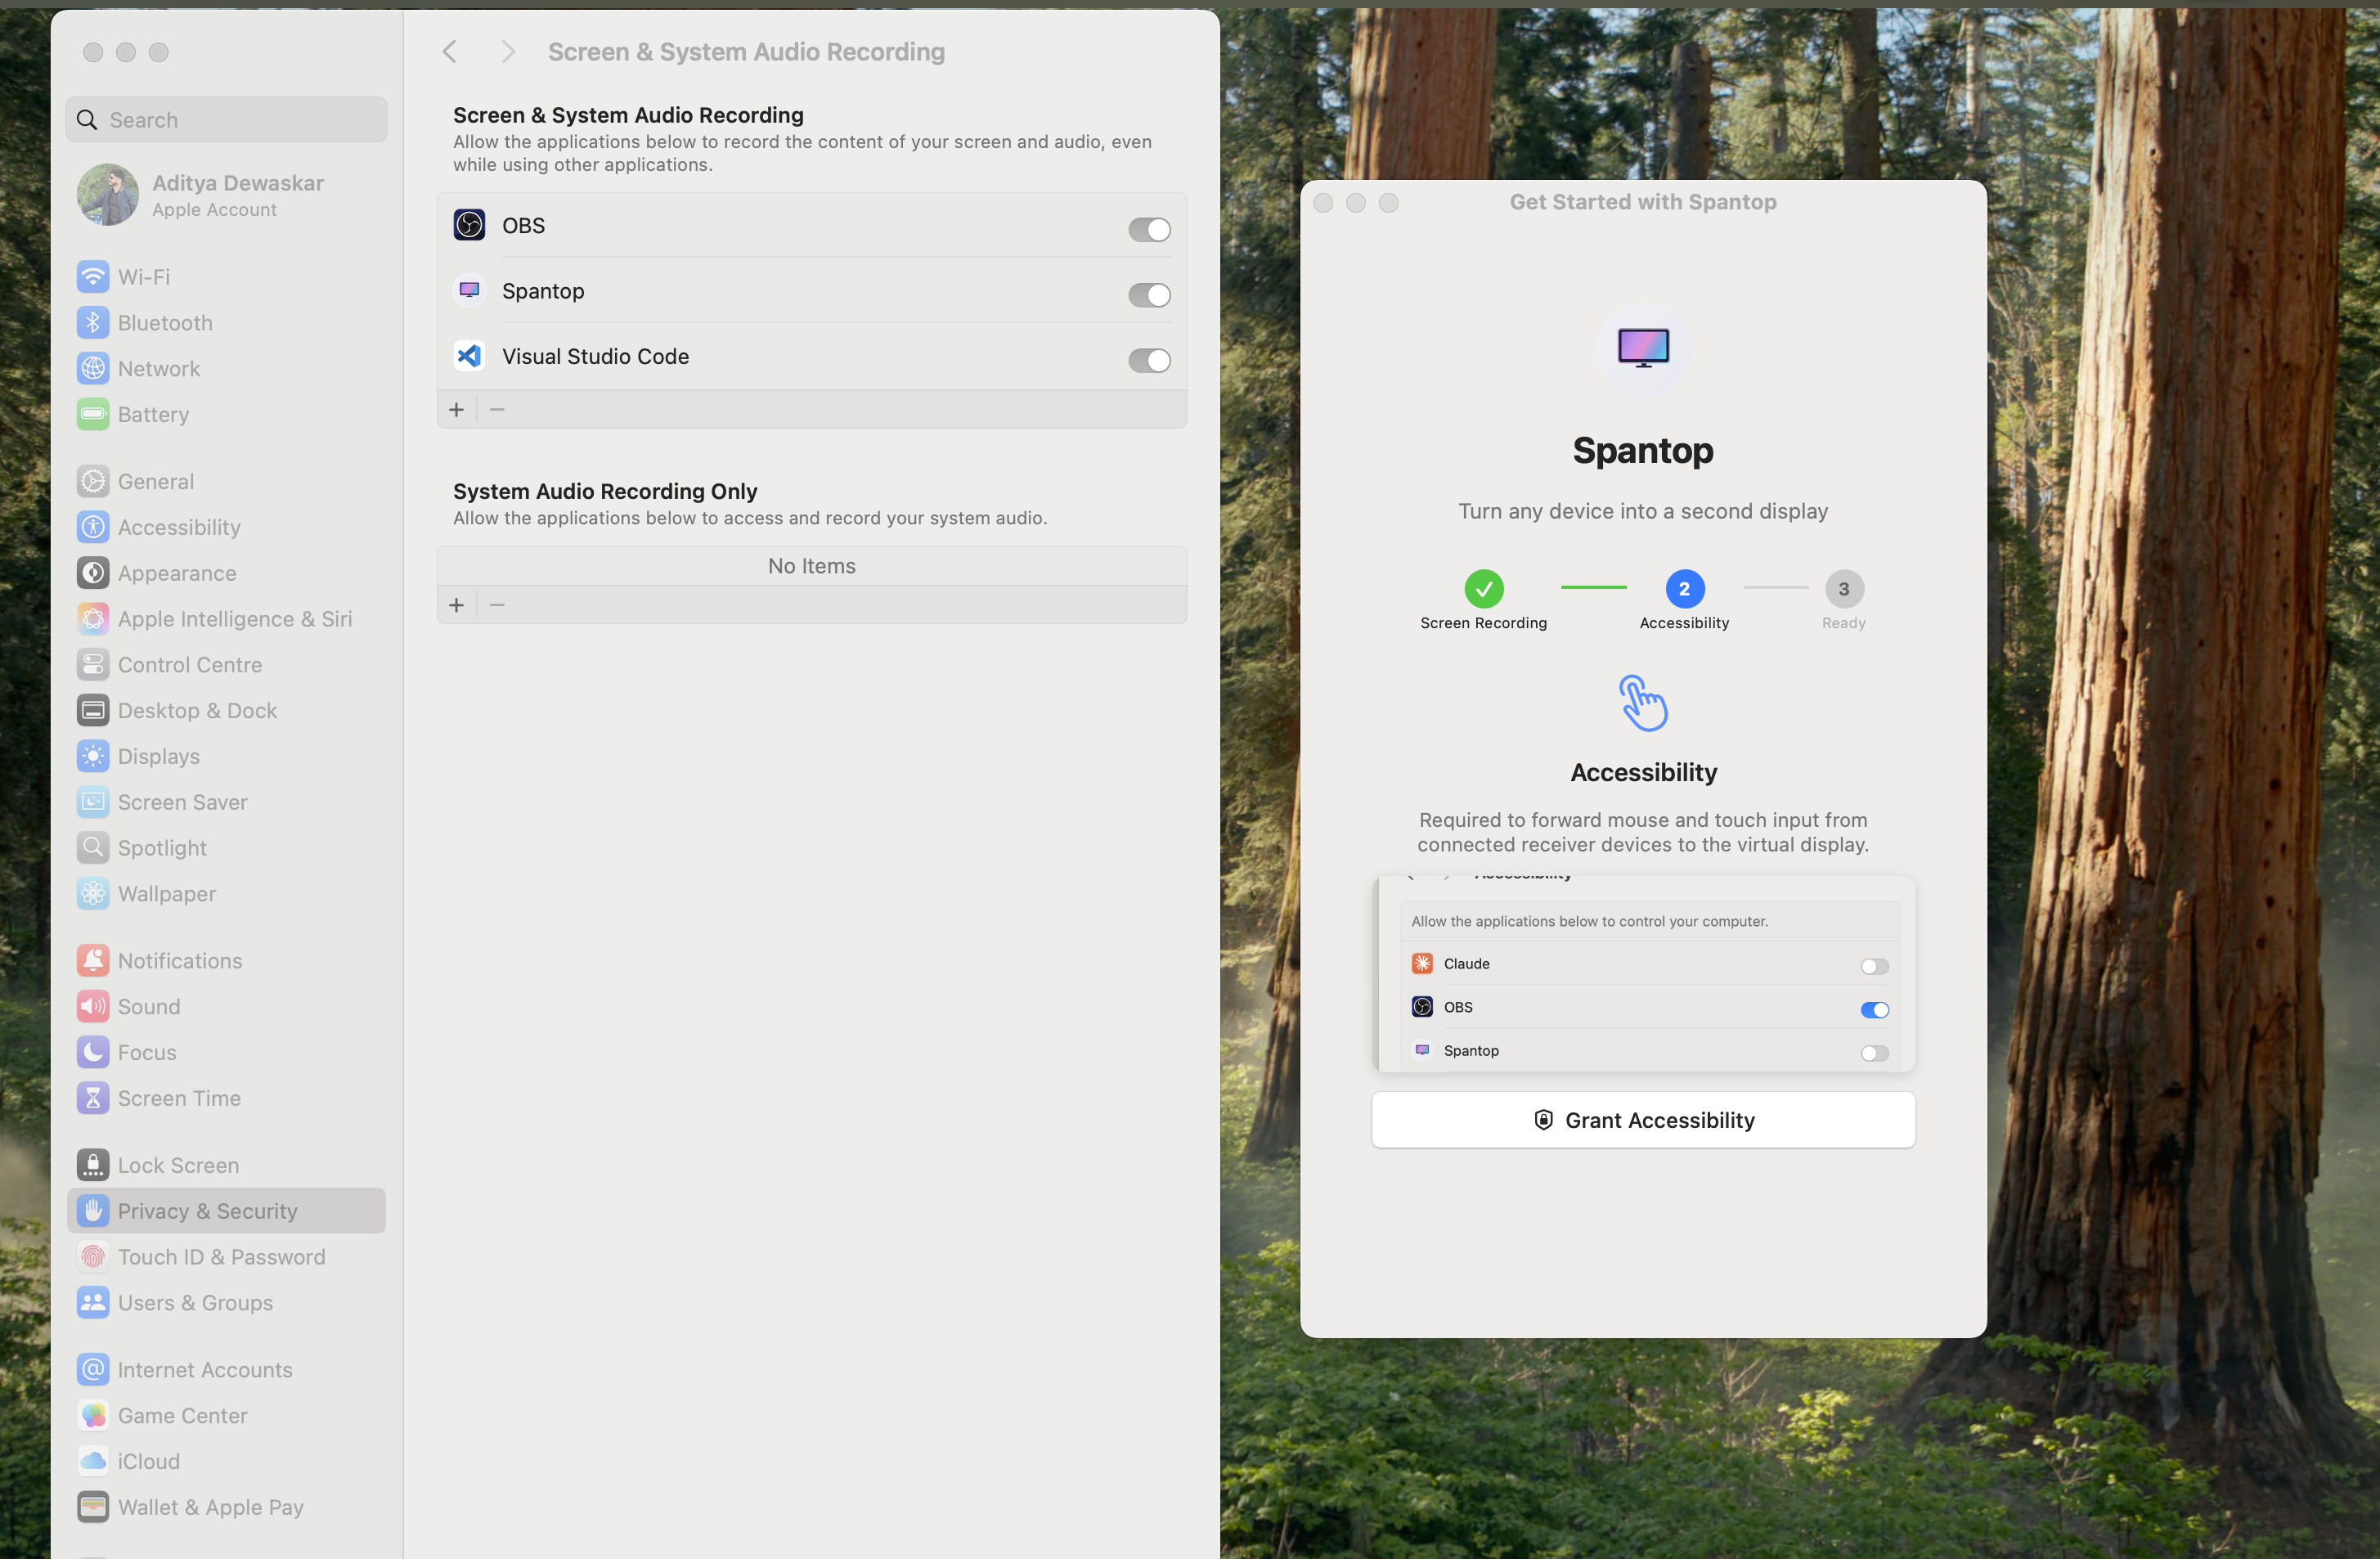
macOS will open System Settings → Privacy & Security → Screen & System Audio Recording. Find Spantop in the list and toggle it on. Once enabled, the setup wizard will automatically detect the permission and move you to the device setup screen.
- 4
Choose Your Device Type
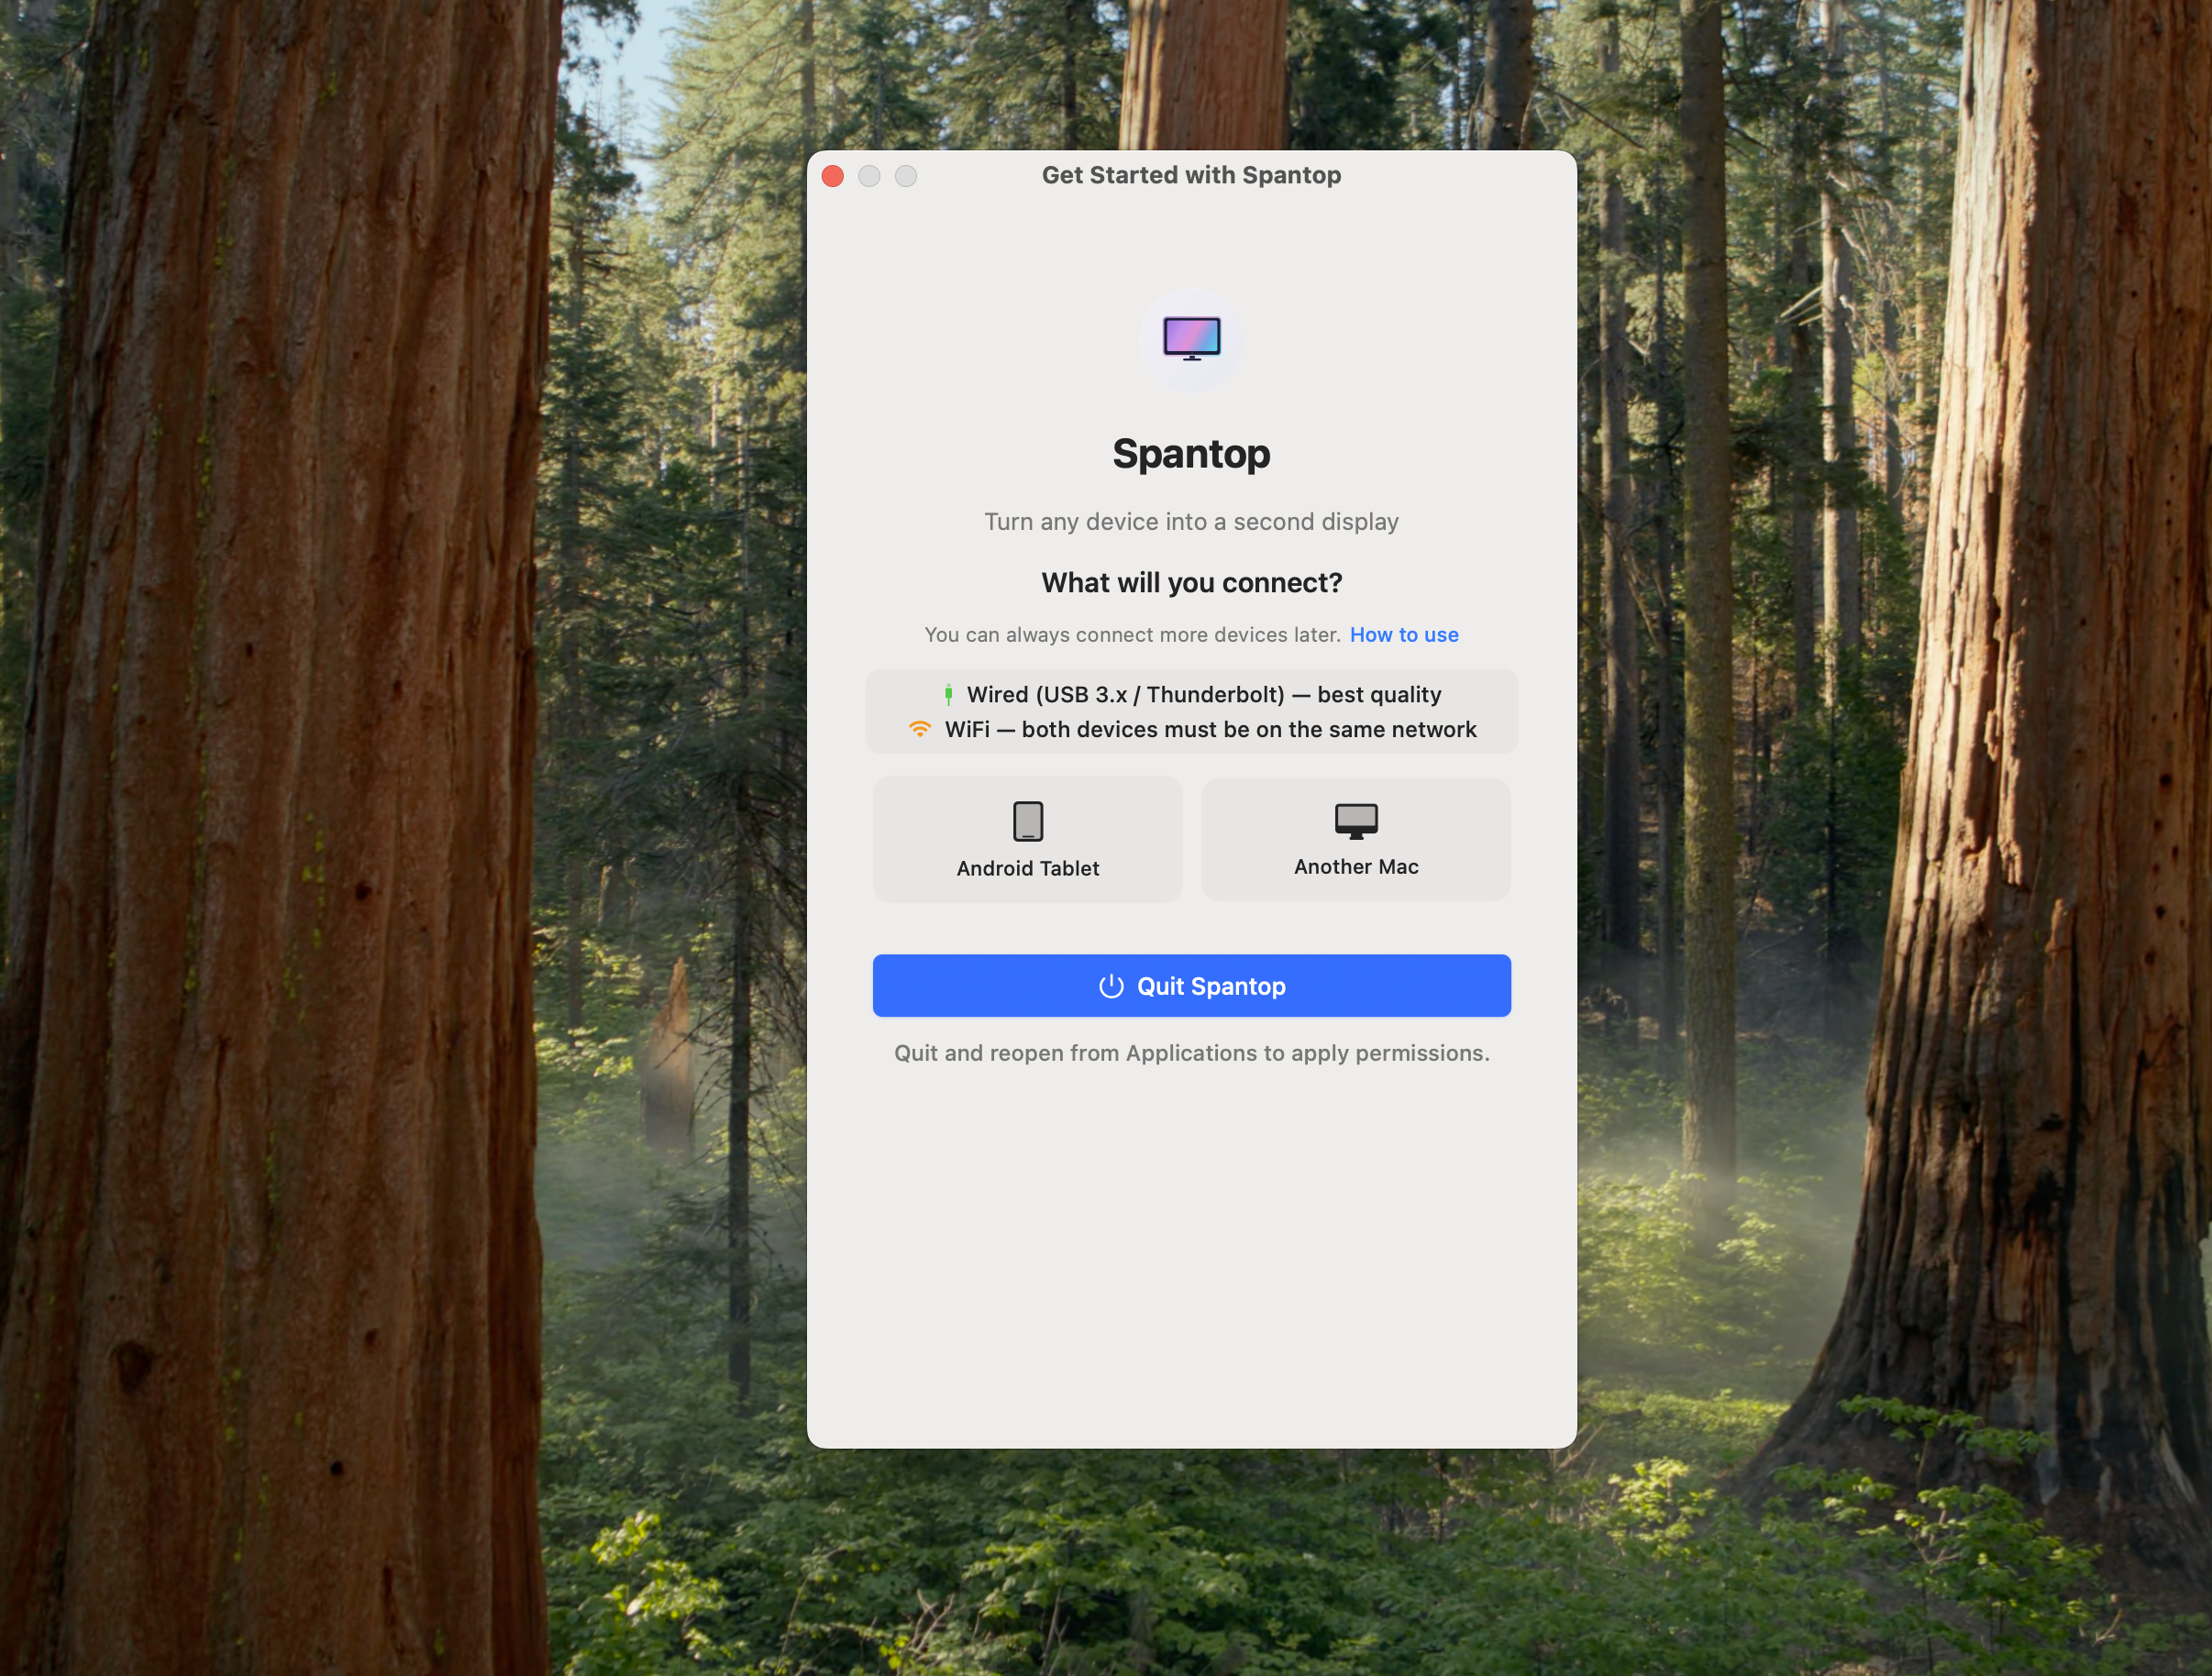
After granting Screen Recording, Spantop asks what you'd like to connect. You have two options: Tablet or Another Mac. You can always connect more devices later. The screen also shows connection tips — Wired (USB 3.x / Thunderbolt) gives the best quality, while WiFi requires both devices to be on the same network. Click "Quit Spantop" to finish setup — you need to reopen the app from Applications for the permission to take effect.
- 5
Tablet Setup Instructions
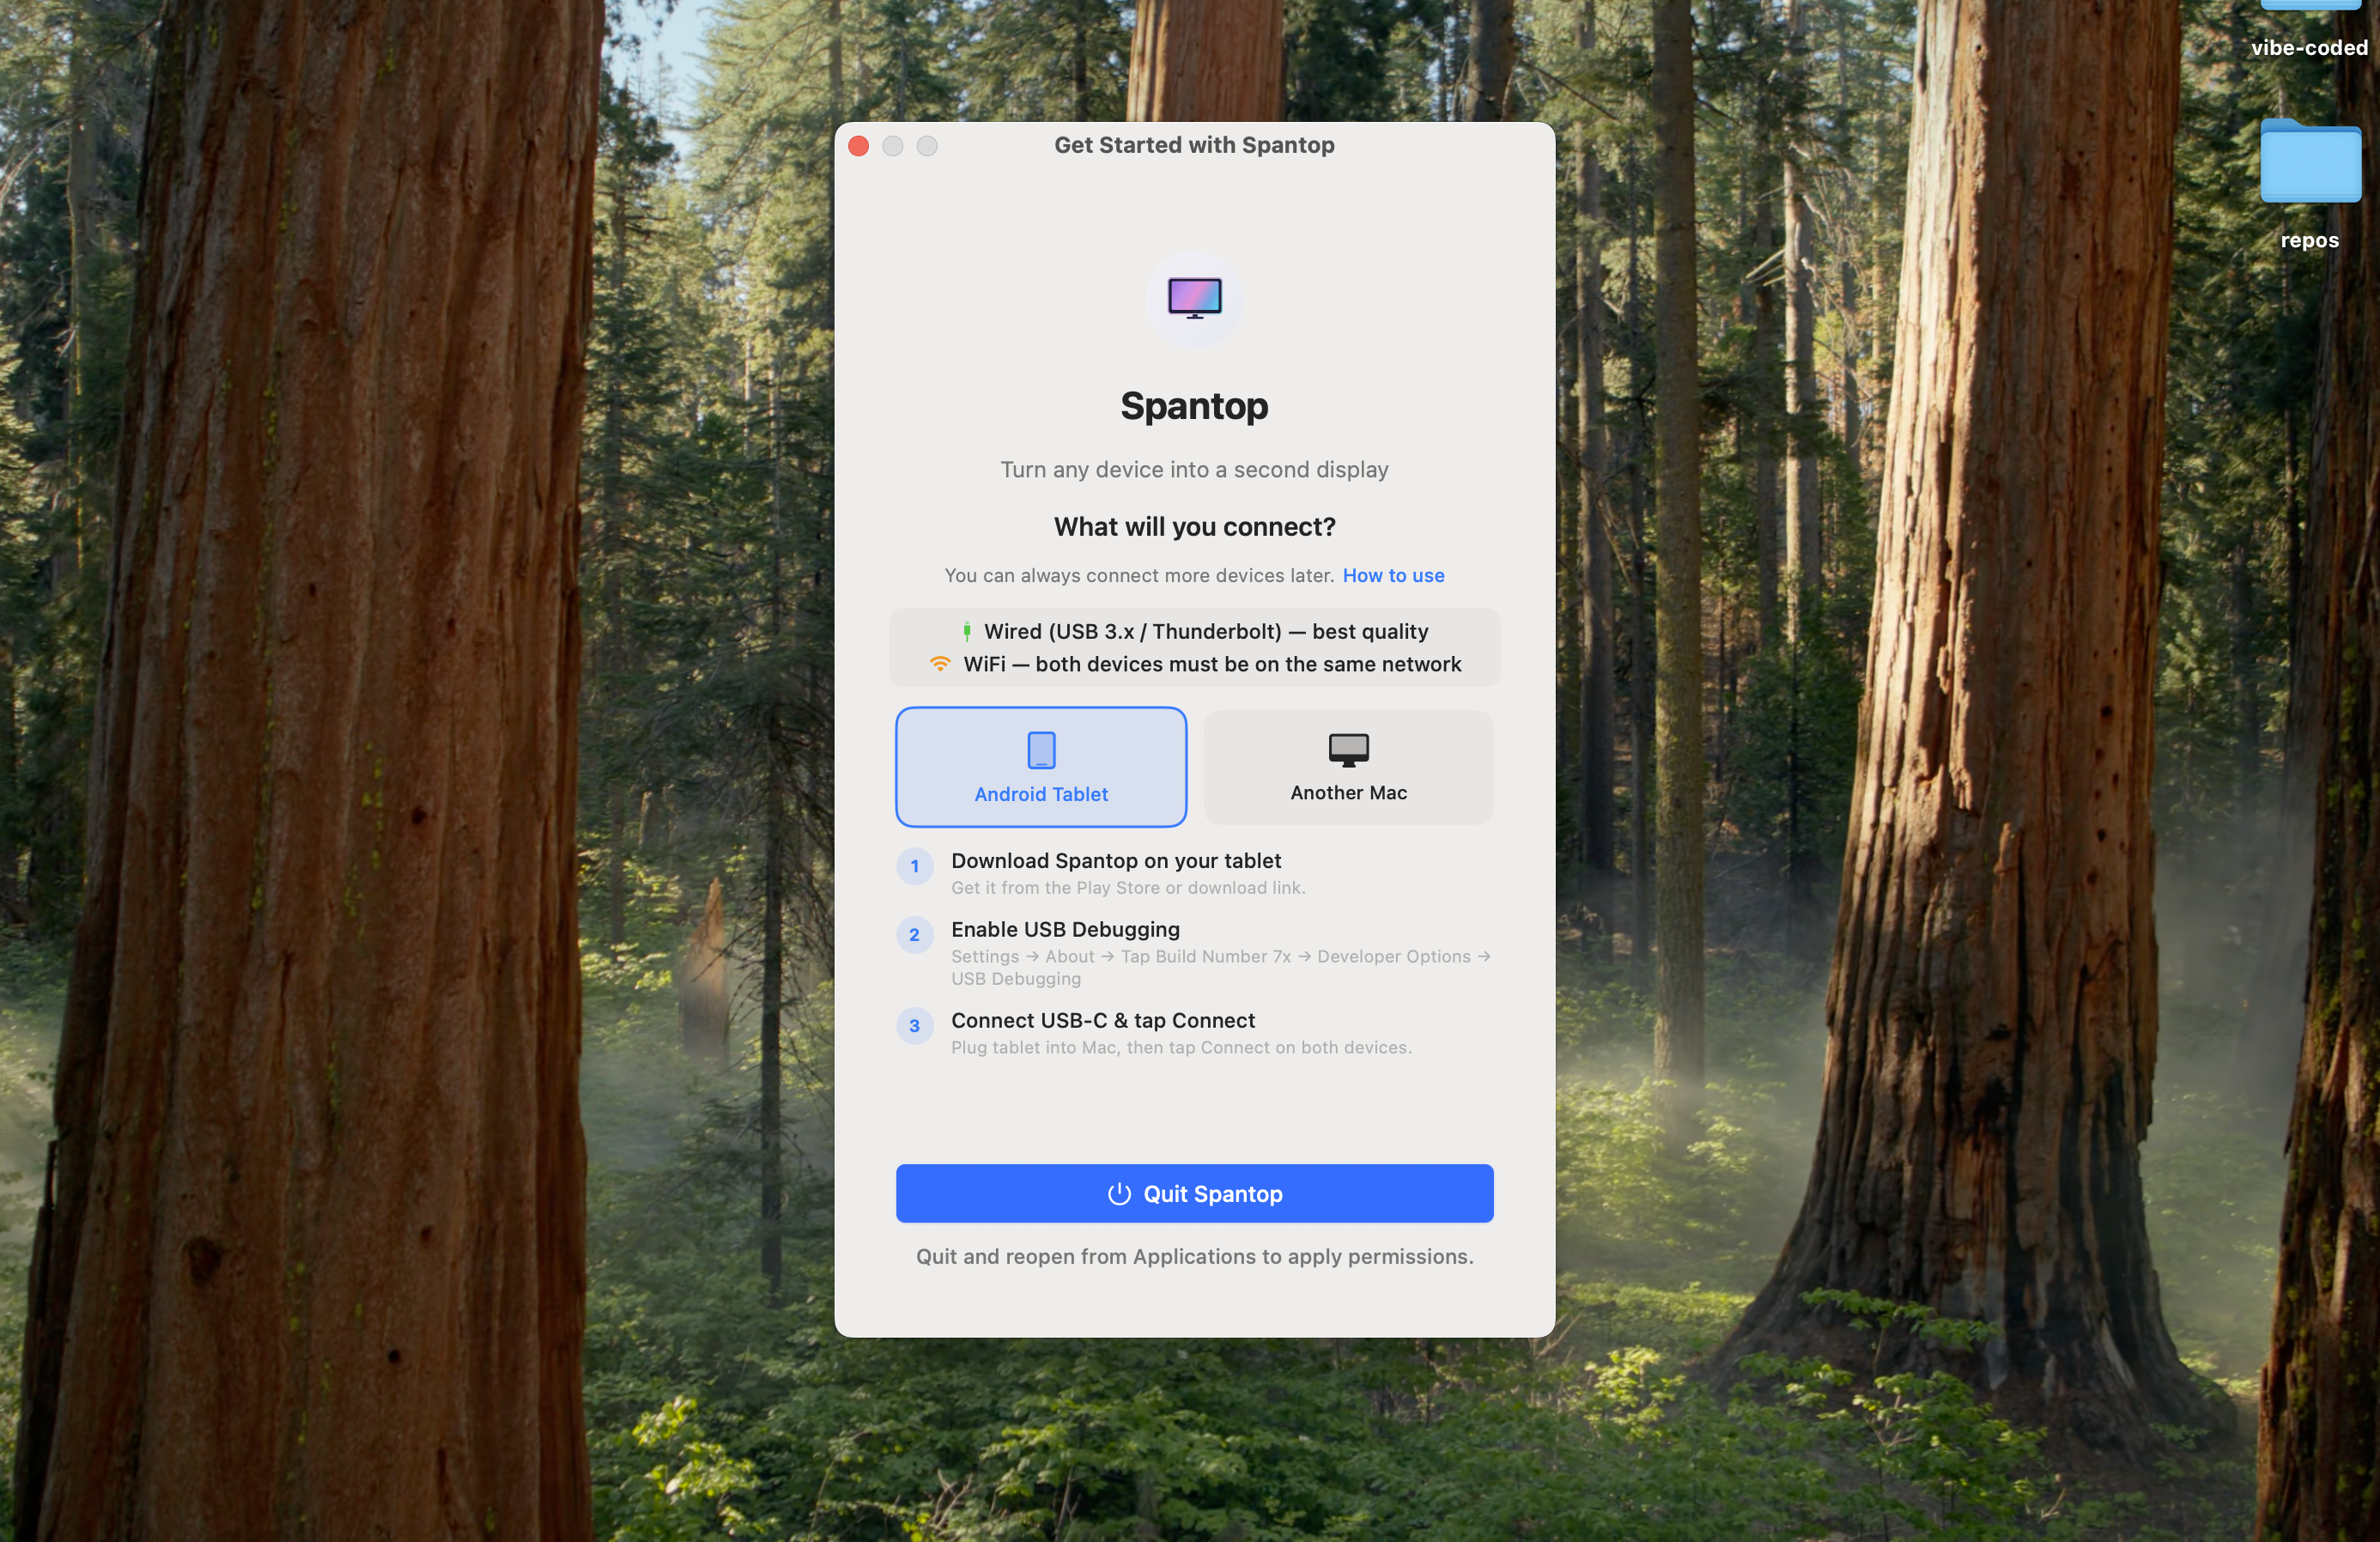
If you select "Tablet", Spantop shows three setup steps: (1) Install Spantop on your tablet — scan the on-screen QR code, or get it from the Play Store. (2) Open the app on the tablet. (3) Back on the Mac, click "Scan for Devices" and pick your tablet. You do NOT need USB Debugging or Developer Options — Spantop connects over the standard USB accessory protocol, and turning USB Debugging on can actually make the USB connection less reliable. Over WiFi, keep the Spantop app open on the tablet so it stays discoverable; over USB-C, plug the cable in and Spantop opens on the tablet by itself — just unlock the screen and tap Allow if it asks for permission.
- 6
Another Mac Setup Instructions
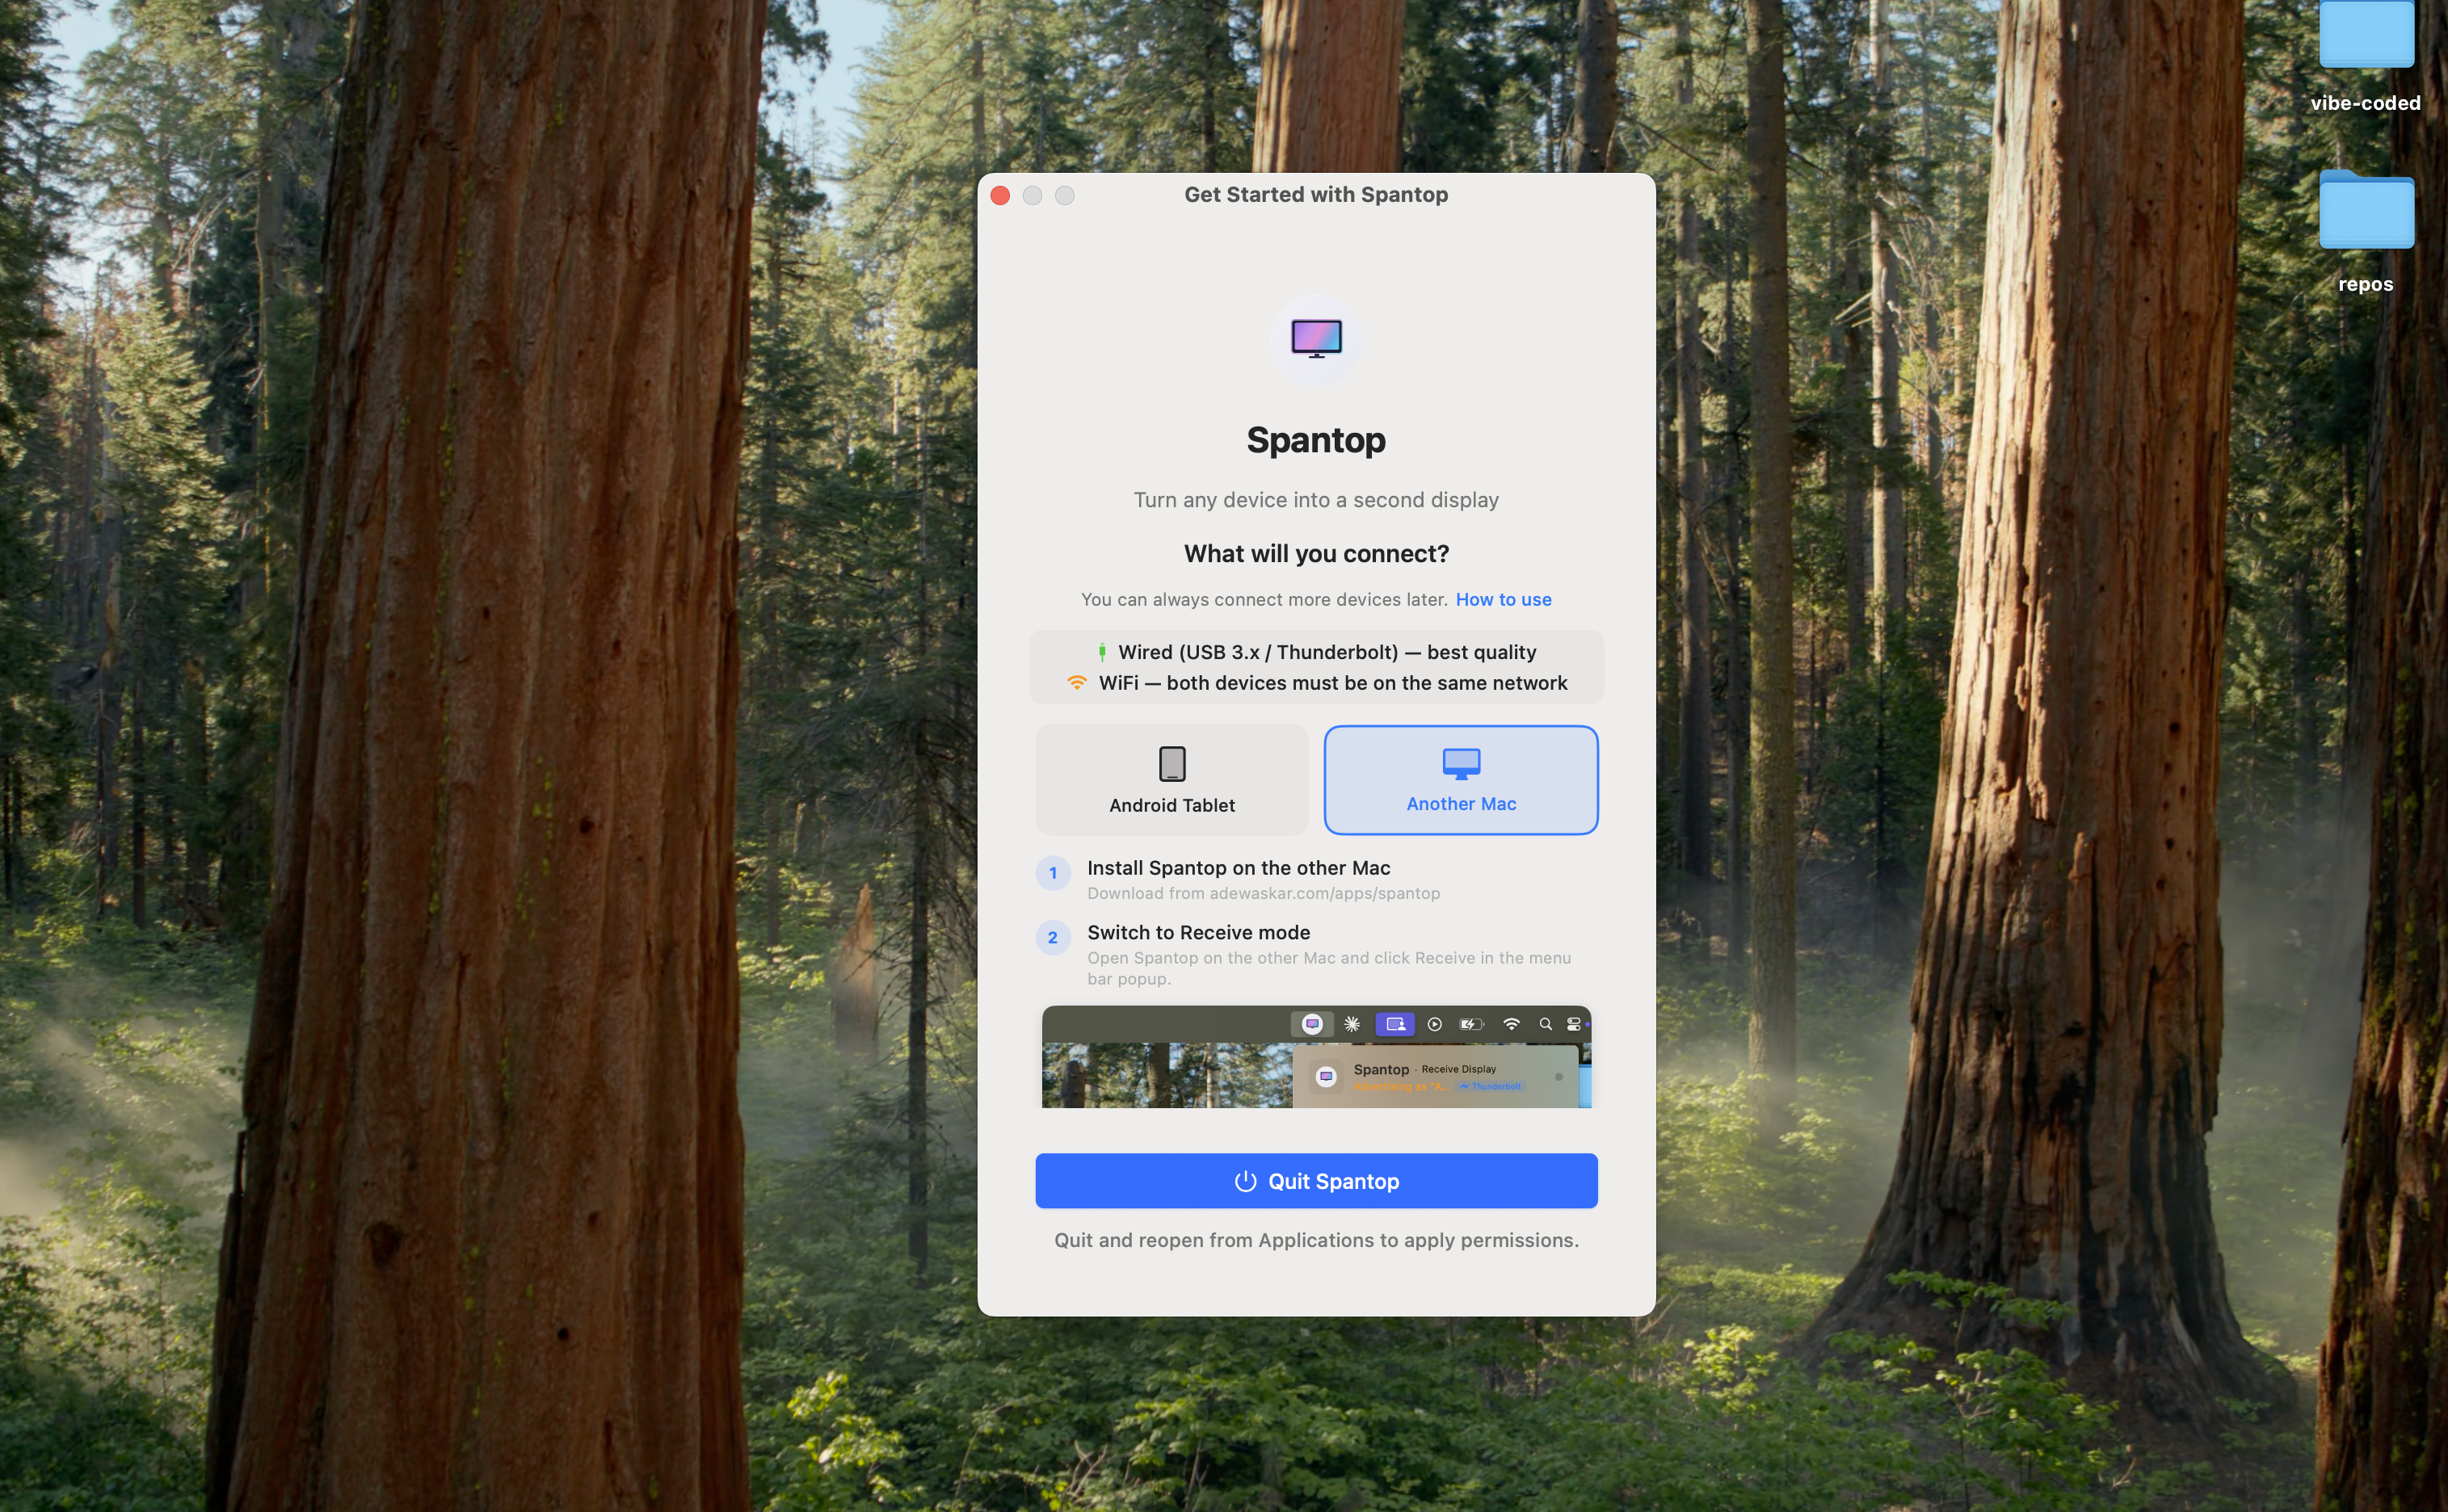
If you select "Another Mac", Spantop shows two steps: (1) Install Spantop on the other Mac. (2) Switch to Receive mode — open Spantop on the other Mac and click the "Receive" tab in the menu bar dropdown. A helpful screenshot is shown so you know exactly what to look for. Both Macs need to be on the same WiFi network, or connected via USB-C / Thunderbolt cable.
- 7
The Main Menu Bar Interface
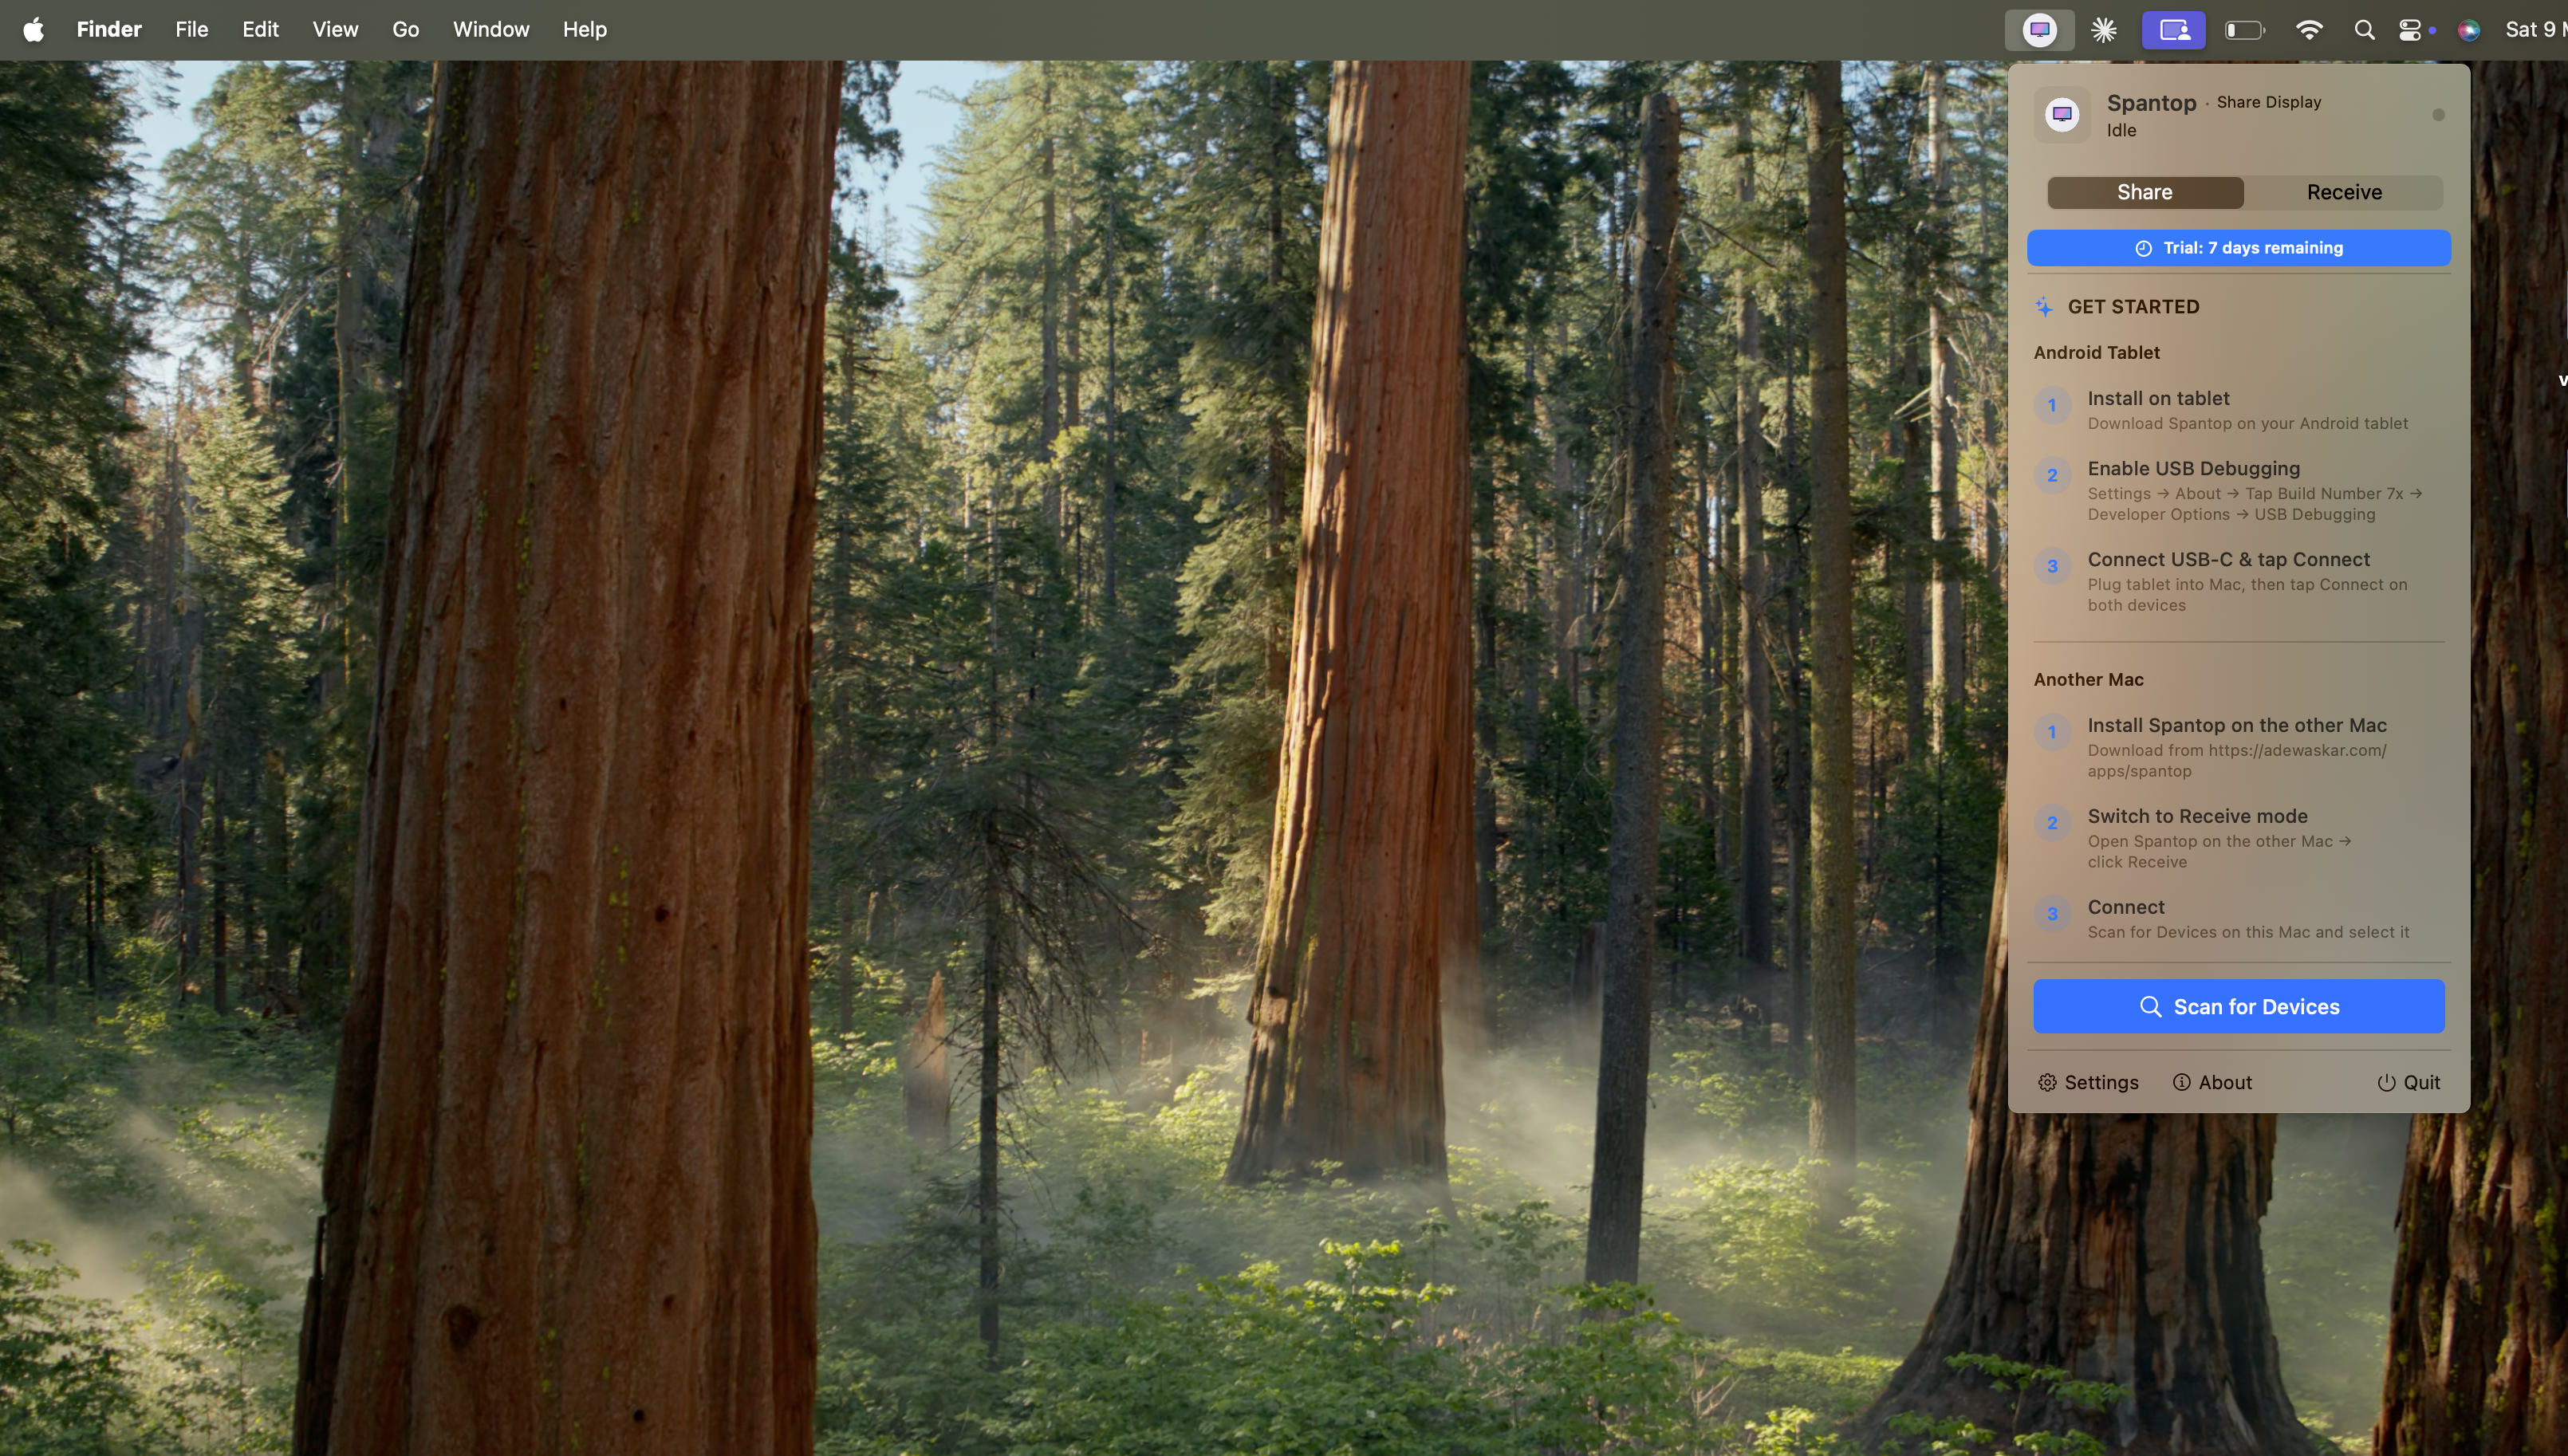
After setup, Spantop lives in your Mac's menu bar. Click the Spantop icon to open the dropdown. You'll see the Share/Receive mode toggle at the top. In Share mode, you'll see a "Get Started" guide with instructions for both Tablet and Another Mac connections. At the bottom, click "Scan for Devices" to find available devices on your network or USB. You also have quick access to Settings, About, and Quit.
- 8
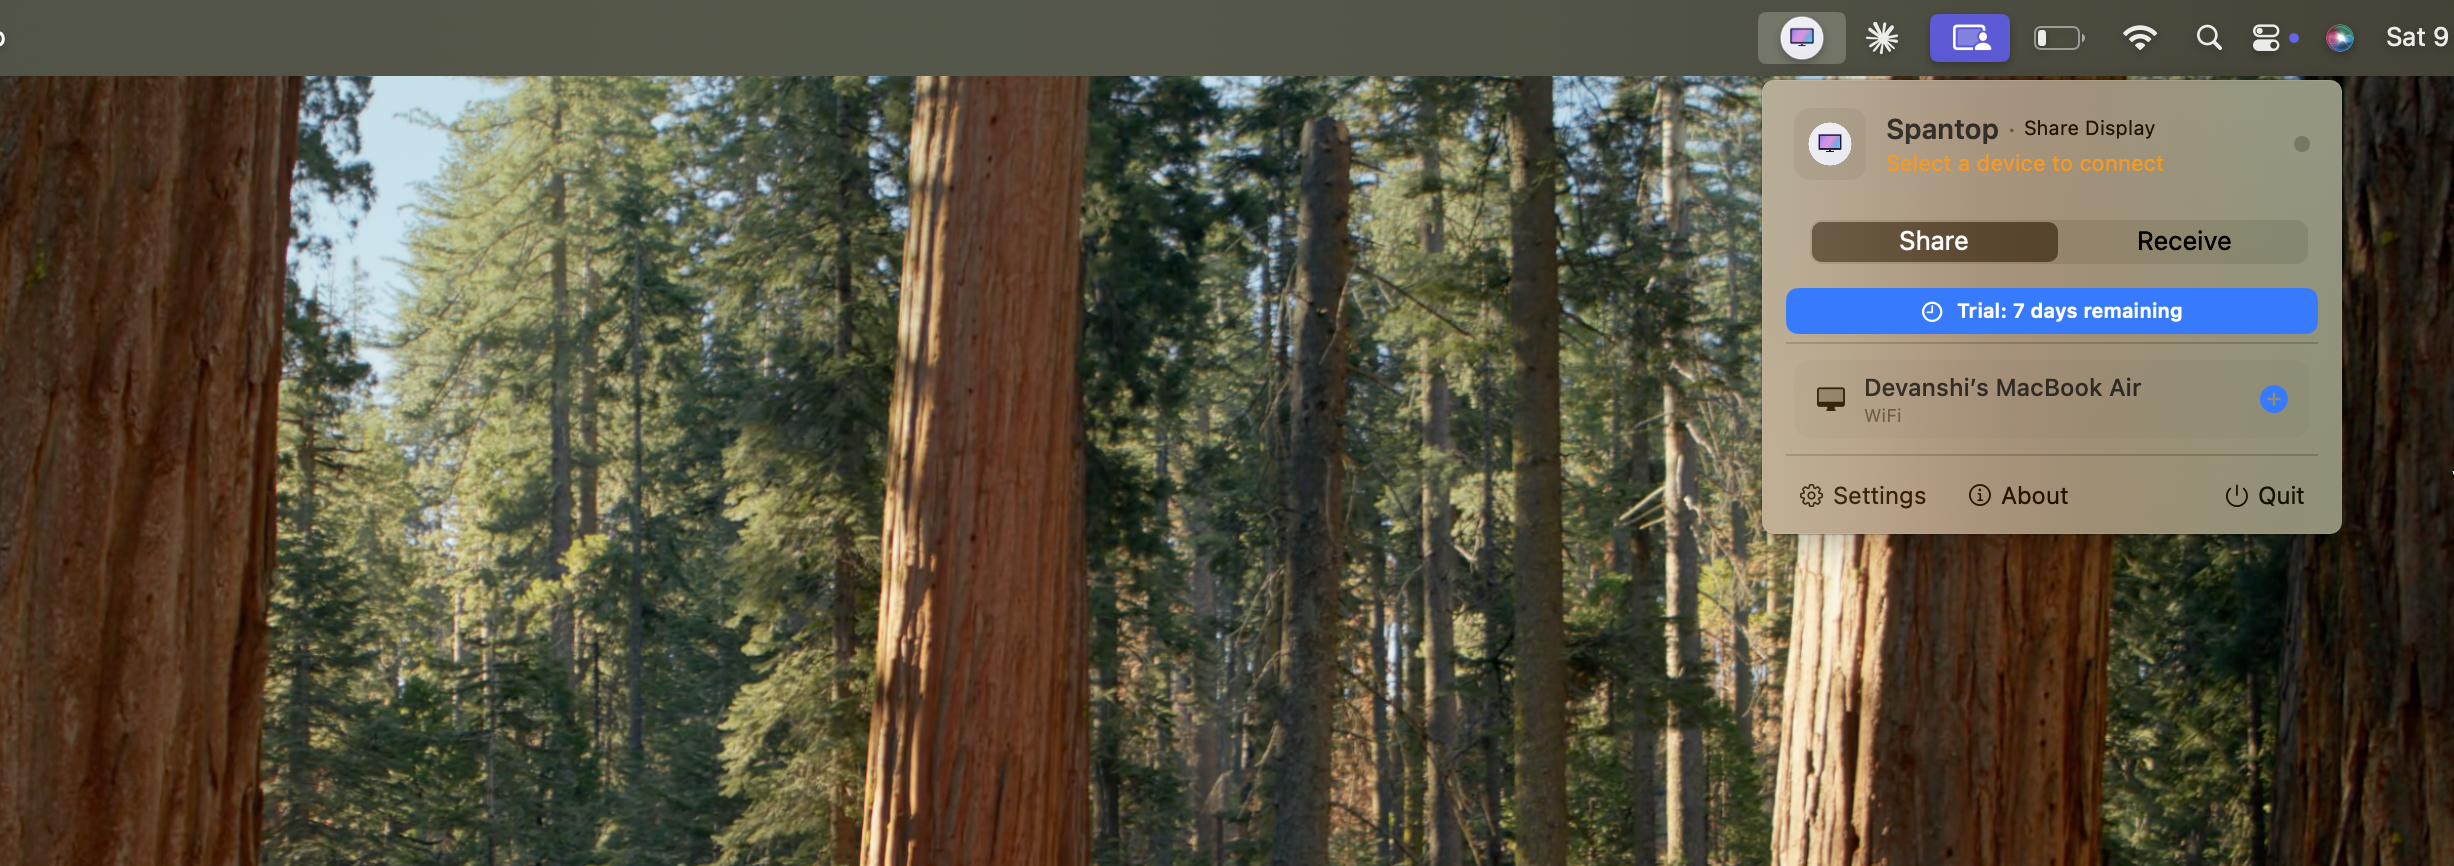
Device Discovered
Once Spantop discovers a device (in this case, "Devanshi's MacBook Air" over WiFi), it appears in the device list with a green indicator showing it's available. The connection type (WiFi) is shown beneath the device name. Click on the device to connect and start extending your display.
- 9
Connect to Your Device
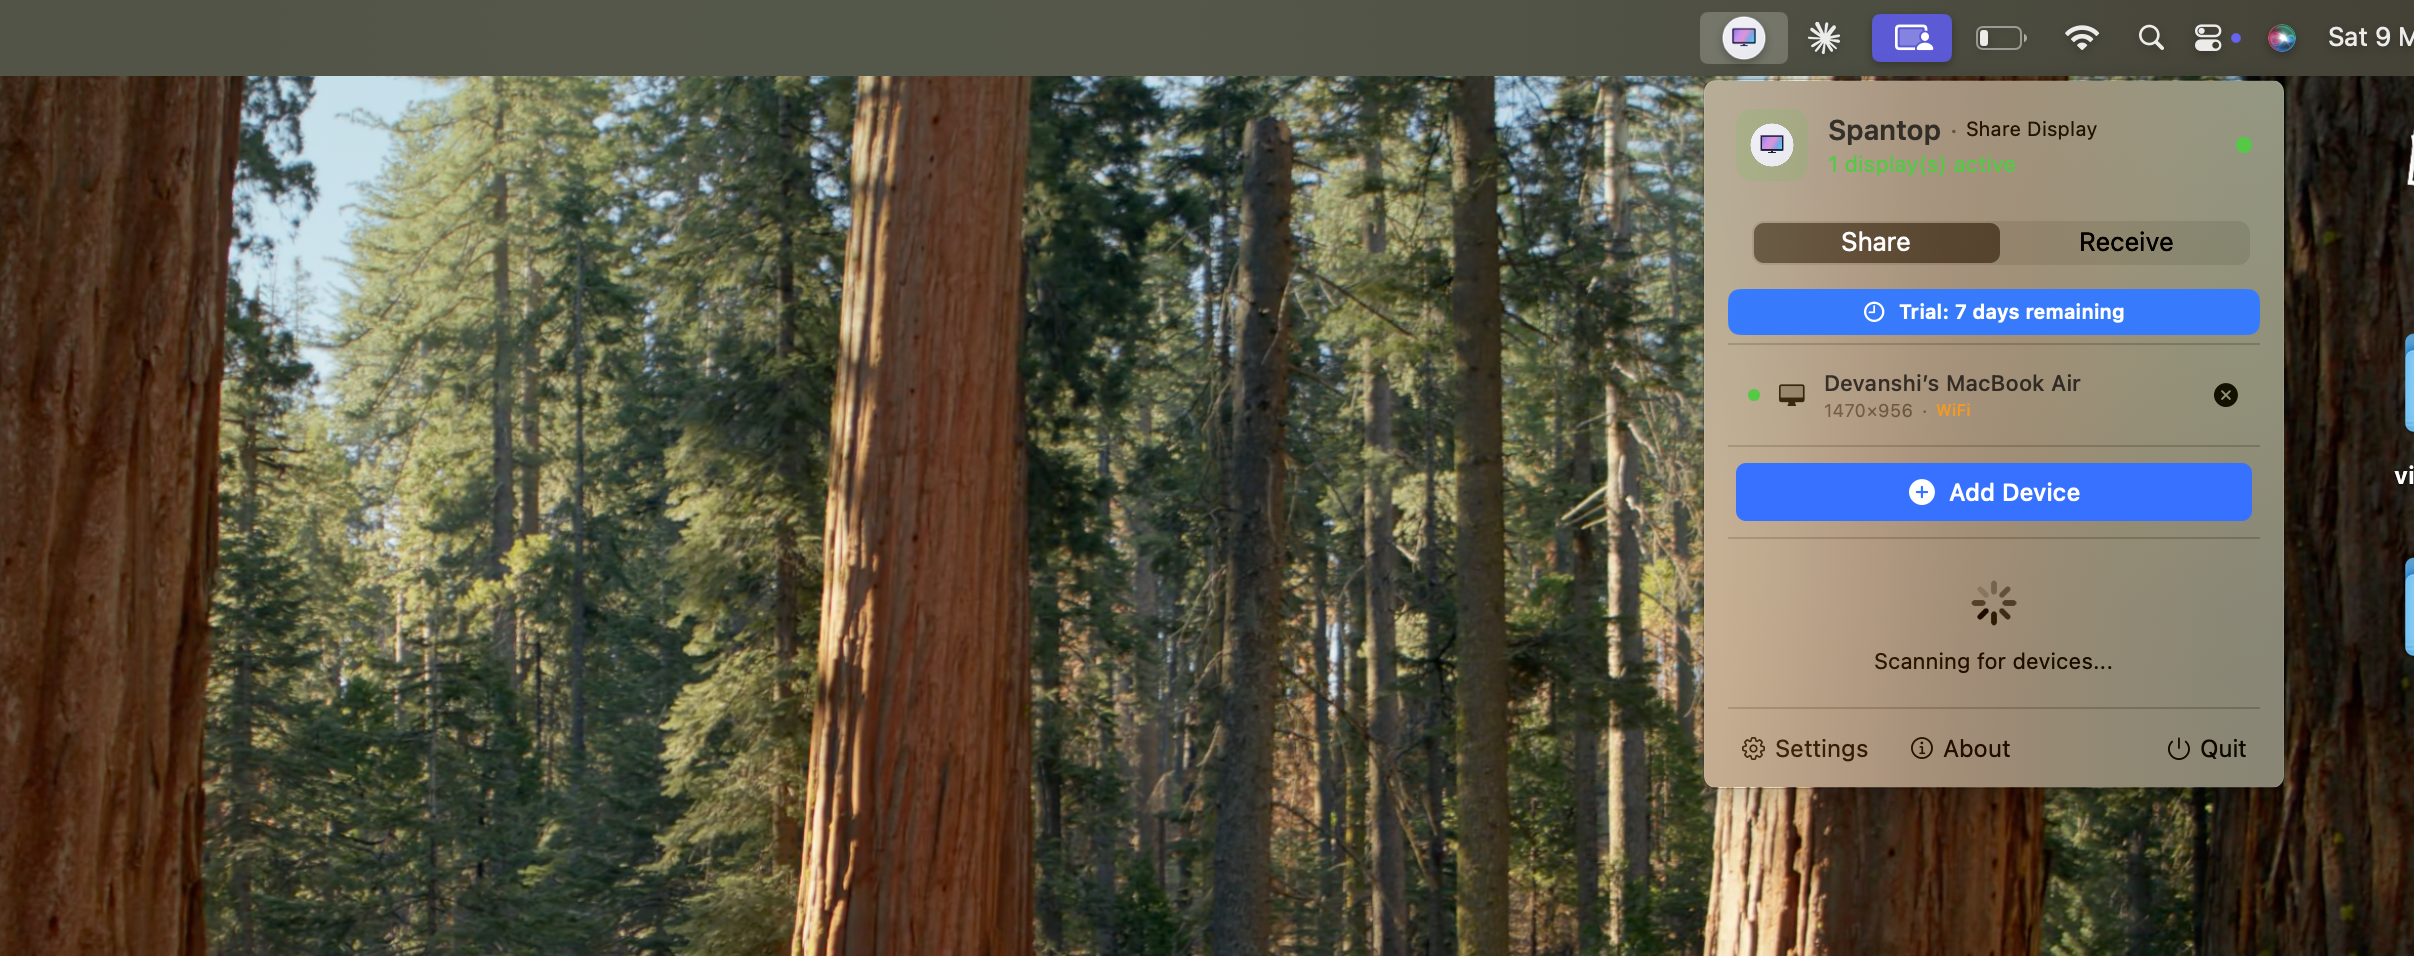
Select the discovered device and click "Add Device" to initiate the connection. Spantop will create a virtual display on your Mac and start streaming it to the connected device. The "Scanning for devices..." indicator shows that Spantop is continuously looking for new devices you can connect. You can connect multiple devices simultaneously — each becomes an independent display.
- 10
Receive Mode
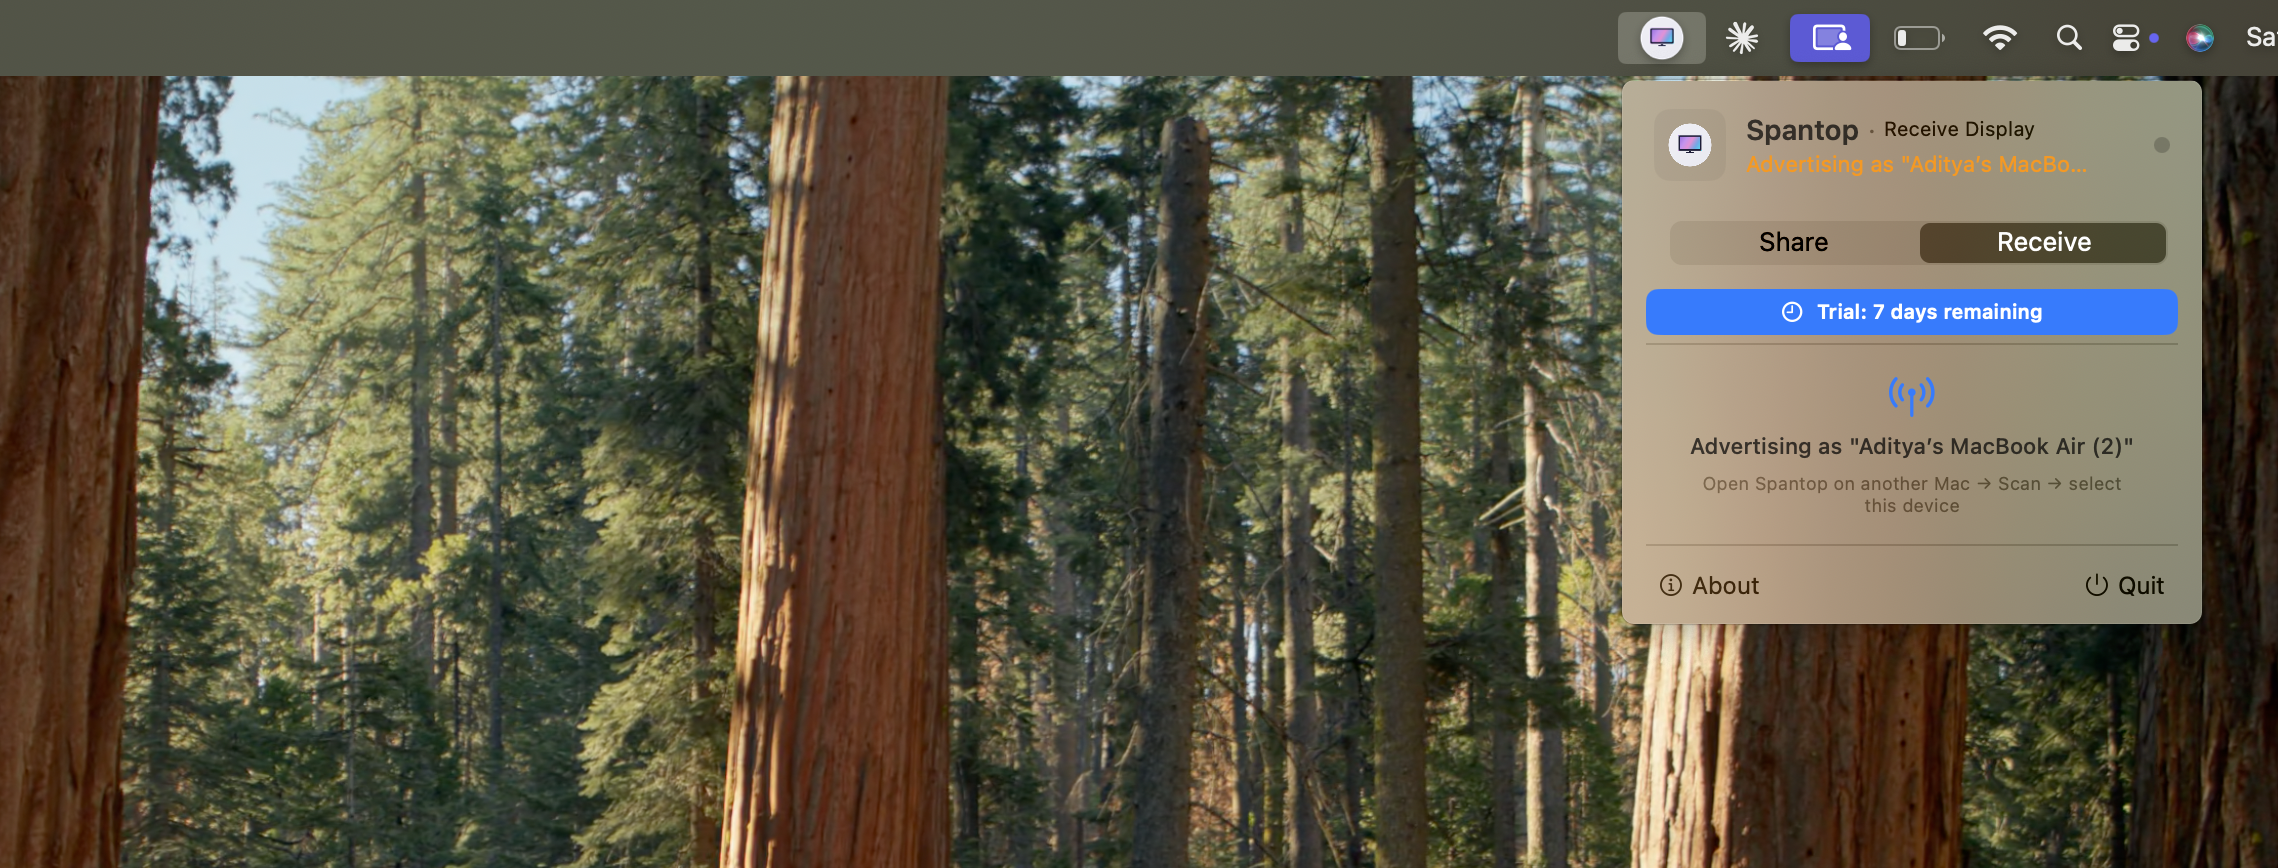
Switch to the "Receive" tab to use this Mac as a second display for another Mac running Spantop. In Receive mode, your Mac advertises itself on the network (shown as "Advertising as Aditya's MacBook Air (2)"). The sender Mac will discover this device automatically. Once the sender connects, your screen will display the extended desktop.